This Valor Mortis walkthrough covers the playable demo — two chapters (Chapter I: Revival and Chapter VII: Witch Hunt), the Lighthouse level, both demo bosses, and the enemy-by-enemy counters pulled from William’s in-game journal. Because the game is pre-release, treat every number and step below as community-reported and not officially confirmed. Use this guide as a route and a mindset, then verify specifics in-game.

What the Demo Actually Contains
The demo is a curated slice rather than the start of the full campaign. Community reports describe two chapters and a second level:
- Chapter I: Revival — a mostly linear battlefield tutorial that ends with General Lothaire, the Eagle-Bearer.
- Chapter VII: Witch Hunt — a later-game slice built around the rapier, musket, Shield Transmutation and traversal.
- The Lighthouse — described as the demo’s second level, a traversal showcase reached by crossing a destroyed bridge using transmutation powers.
A few comfort features are also present: Save Anytime lets you save and resume freely, and there is no difficulty slider — the demo intentionally throws its hardest content at you with no easy mode. That is the single most important thing to understand before you start: this is a Souls-like, and the demo expects you to learn its systems rather than brute-force them.
Before You Start: Settings That Flatten the Difficulty
You cannot lower the difficulty, but four options materially reduce friction on boss attempts. Turn these on before a hard fight:
- Target Lock — keeps the camera locked on the boss so you never lose the fight in a camera swing.
- Combat Assist — snaps your swings toward the enemy; turn it up if your hits whiff.
- Instant Restart — restarts from the last checkpoint without sitting through the death screen (a huge quality-of-life win for boss runbacks).
- Quick Cast — fires a Transmutation the moment you select it, skipping the confirm step.
Beyond those, the demo exposes full rebinding — every action takes a primary and a secondary key — plus a crouch mode you can set to Hold, Toggle or Press, and the ability to hide the crosshair and the entire HUD. On controller you also get five preset schemes (Default, Classic, Dodge/Block Swap, Bumper Jumper, Bumper Jumper 2) and themed icons for Xbox Series, PS5 or Nintendo. For firearm and Transmutation play, community advice is to set Mouse Aiming Sensitivity (or the controller equivalent) lower than your hipfire sensitivity for steadier shots and Stasis throws.
Chapter I: Revival — Battlefield Tutorial Walkthrough
Chapter I plays as a guided battlefield intro. You secure a Sabre at the start, and the level is described as mostly linear — which makes it the right place to drill the fundamentals before the boss gate.
Focus on three habits while the game is still forgiving:
- Parry, don’t trade. Every enemy in this chapter can punish button-mashing. Read the wind-up and parry to fill the enemy’s Posture meter.
- Spend your Nephtoglobin. Melee hits and shattered Weak Points feed William’s blood-magic. Bank it and convert it into a Transmutation at the right moment rather than hoarding it.
- Light Lanterns. Lanterns become restart points when lit and let you spend Catalyst. Resting or dying resets regular enemies, so light them as you push forward.
General Lothaire, the Eagle-Bearer (Chapter I Boss)
Community reports describe Lothaire as a two-phase boss and a relentless commander who fights alongside the spawn of his rage. The fight is a management test as much as a damage test:
- Keep Target Lock on the General so his adds don’t drag your camera away.
- Use Stasis to buy space when you get swarmed by the spawn.
- Treat the phases as a marathon — clean up the adds so you can actually read the General’s wind-ups.
Chapter VII: Witch Hunt — Lighthouse Level Walkthrough
Chapter VII is the later-game slice. It is built around the rapier, the musket, the Shield Transmutation and traversal — and it is the level that shows off the demo’s Metroidvania-style movement.
Key points for this chapter:
- The Rapier is a fast, precision thrusting blade — built for speed rather than raw damage.
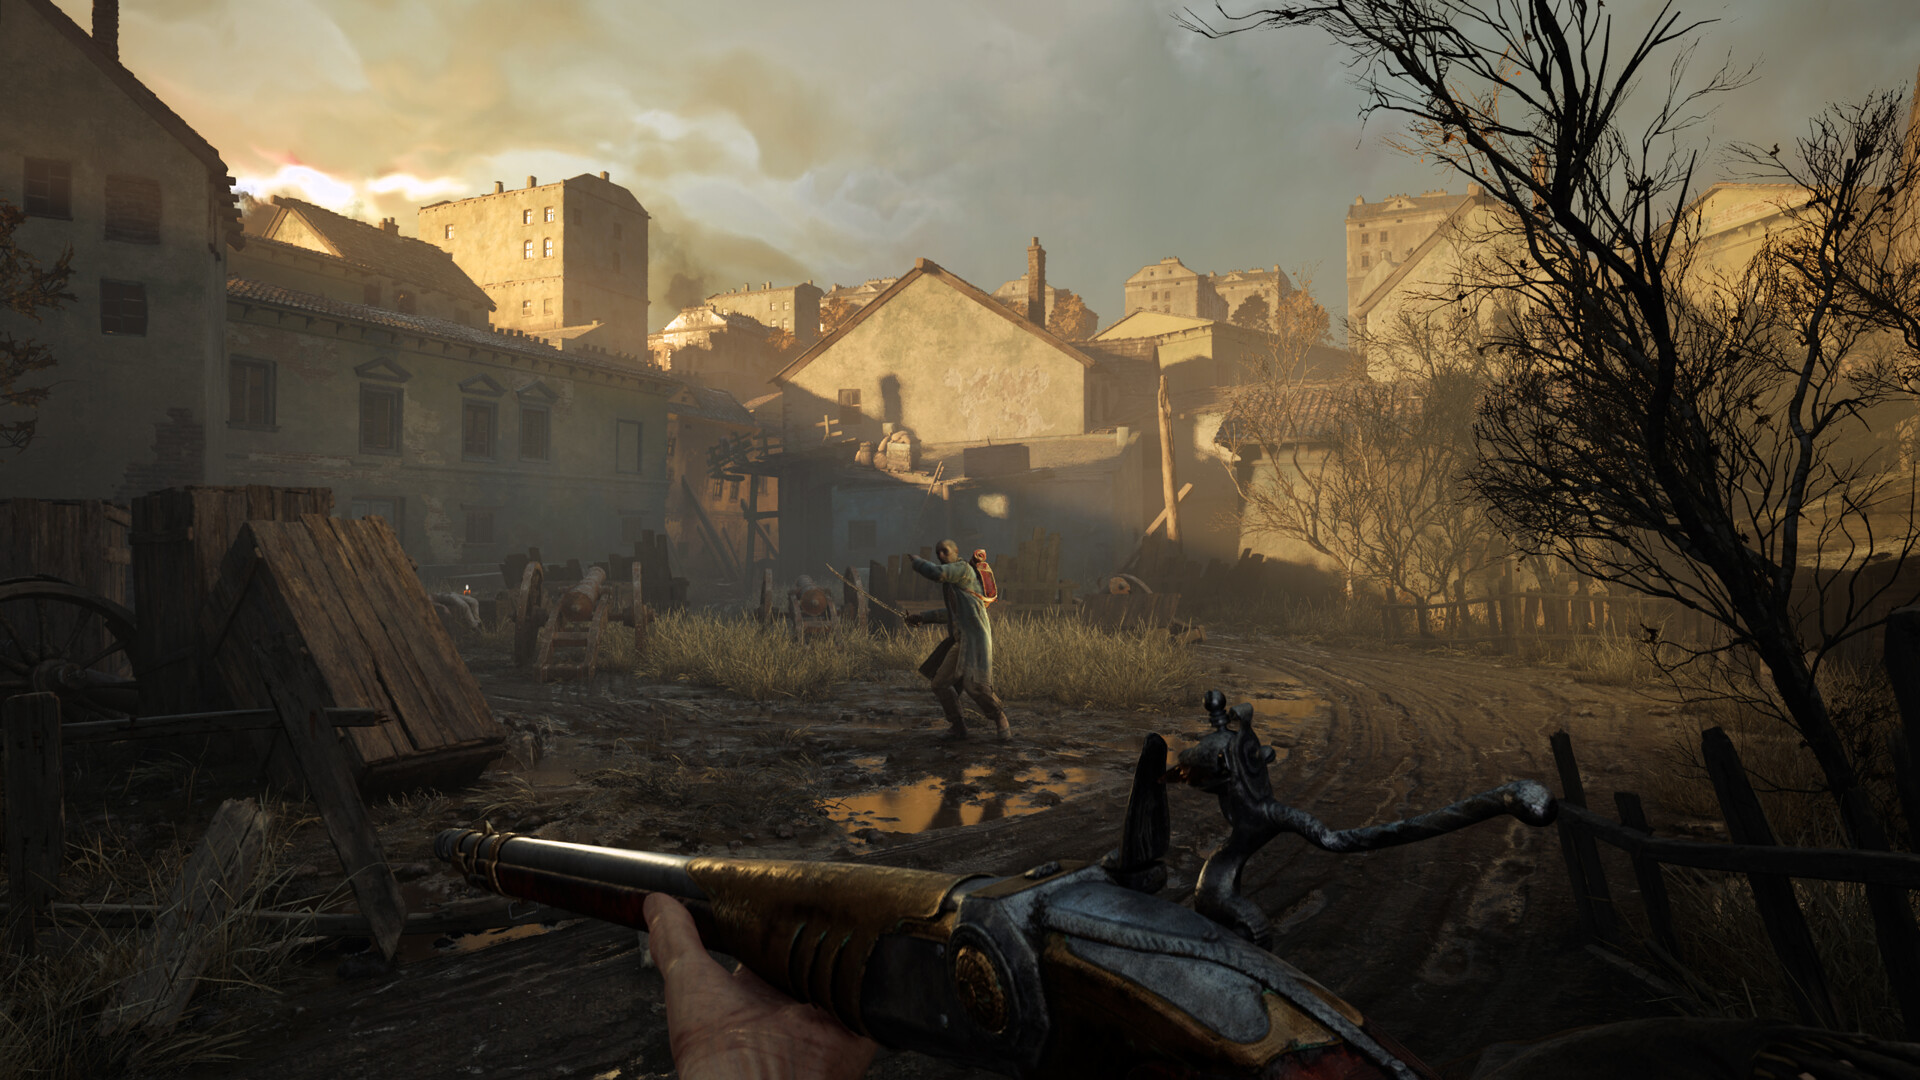
- The Musket is a firearm debuting in the Lighthouse level (named officially, but no published stats — community-reported).
- The Pistol is a single-shot gun fused into the melee flow, usable both in combat and to trigger environmental weak points.
- Traversal kit: the Grapple Hook and Wall-Running let you flank enemies from above and cross treacherous terrain. The grapple is a nod to the developer’s Ghostrunner roots.
The Lighthouse itself is reached across a destroyed bridge using transmutation powers, which is a clear signal that the level is testing your movement tools as much as your combat.
High Justicar Aurelius, Last of the Faithful (Parry Check)
Aurelius is a master fencer and described as the parry check of the demo. You will not out-damage him — you beat him through baiting, parrying and Critical punishes:
- Bait out his attack strings, then parry to break his Posture.
- Punish the broken Posture with Critical Attacks.
- Favor patience over aggression; this fight rewards discipline.
Field Threats and How to Counter Them
The enemies between you and the bosses each have a tell, and the counters below come from William’s own in-game journal — fight them the way the game tells you to, not by trading blows. Treat the notes as community-reported pre-release guidance.
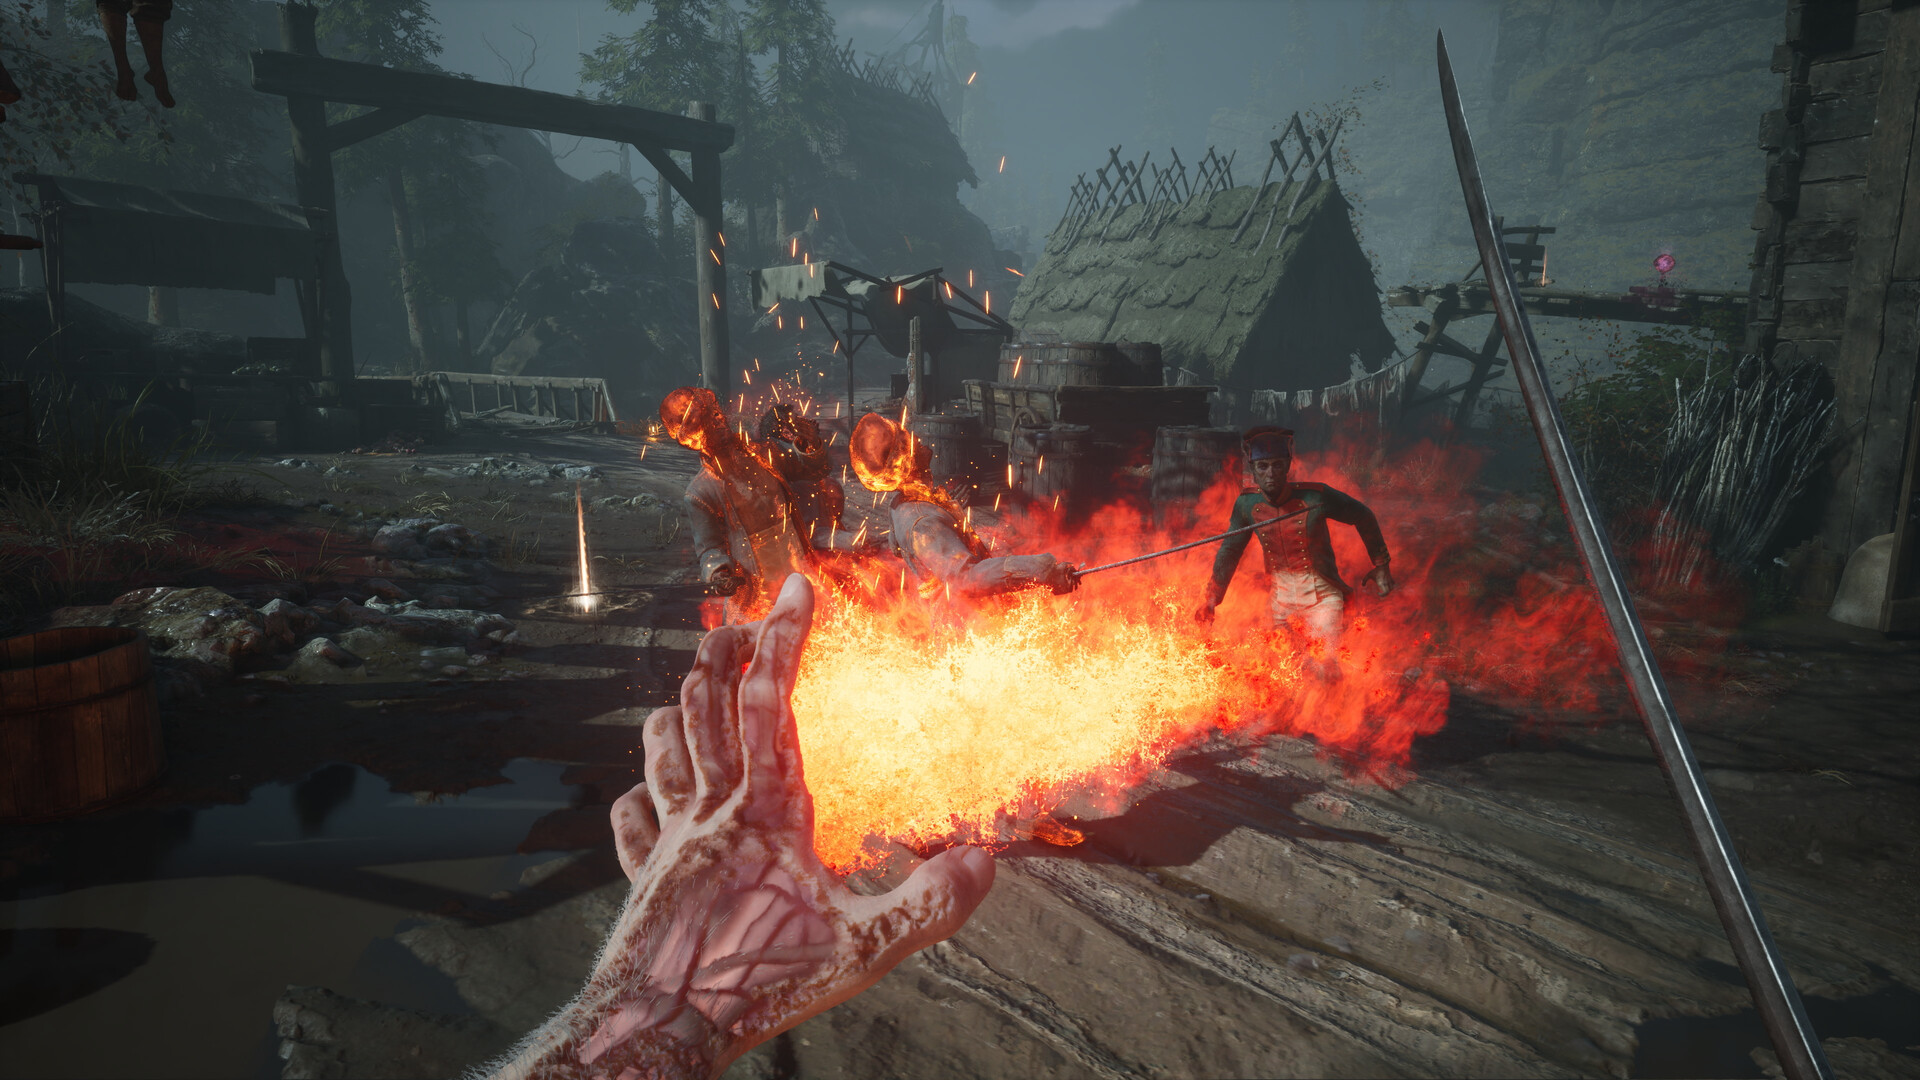
- Carrion — immune to blades; burn it. The Fire Transmutation or any ignite destroys the mass holding it together.
- Eternal Guardsman — an elite fencer. Parry its strikes to break Posture, then punish.
- Howler — hunts in packs. Use openings or Stasis to thin the group; don’t get surrounded.
- Lancer — a field threat listed among the demo’s enemies.
- Risen Grenadier — lobs grenades from range. Close the gap while dodging its throws.
- Risen Musketeer — its slow reload is your window; close the distance the instant it fires.
- Risen Sapeur — heavy, barricade-breaking blows that beat your guard. Dodge rather than block.
- Risen Soldier — a standard sabre fighter; parry the basics and counter.
- Shambling Villager — weak plague-ridden civilians that pose little threat alone but can pile on.
- Smallsword — another field threat listed among the demo’s enemies.
- Volunteer Brute — a towering greatsword wielder; duck its wide swings and strike in the gaps.
The Eternal Guard as a faction reads as a mobility problem — the intended counter is movement and improved targeting, not standing your ground.
Combat Fundamentals That Win Fights
If you remember nothing else, remember these four things (community-reported, but consistent across hands-on previews):
- Parry to break Posture. Trading hits loses. Parry attack strings to fill the enemy’s Posture meter, then land a Critical Attack for huge damage.
- Extract Nephtoglobin, then spend it. Melee hits and shattered Weak Points feed your blood-magic; cash it into a Fire, Stasis or Shield Transmutation at the right moment.
- Level the right stats. Community guidance points to Maximum Health and Melee Damage first.
- Pick a survival Amber. Life-steal and regeneration variants turn a brutal fight into a survivable one.
Progression: Lanterns, Catalysts and Ambers
- Lanterns are the checkpoints. Lighting one makes it a restart point and lets you spend Catalyst. Resting or dying resets regular enemies.
- Catalyst is the upgrade resource spent at Lanterns. Community advice: bank it before you take a dangerous path, because you may lose progress otherwise.
- Ambers are survival modifiers with life-steal and regeneration variants. Slot one before a hard fight.
- Transmutations (Fire, Stasis, Shield) are the blood-magic skills that channel your Nephtoglobin. Channeling power correctly strengthens attacks and unlocks new supernatural skills.
Demo Known Issues and Fixes
The demo has documented stability problems, and the official workarounds are worth knowing before you blame your build. Reported fixes are tied to developer posts and should be treated as guidance rather than guarantees.
Fastest safe order: update the demo, update your GPU driver, restart the game, and avoid FSR on an affected Nvidia GPU. If loading still fails, verify that Valor Mortis is using the discrete GPU. For a missing interface, toggle HDR off and on.
- Nvidia crash with FSR selected — known issue. Workaround: use TSR or DLSS until resolved.
- D3D12 / wrong-GPU launch — make sure the game runs on the discrete GPU (Nvidia Control Panel), and the developer also suggests disabling Intel(R) AI Boost via Device Manager.
- AMD crash mentioning amdxc64.dll — perform a clean driver reinstall.
- DLSS freezes while loading — still listed in the pinned Known Issues thread even though version 1.02 restored DLSS support. If it happens, switch to TSR, restart and report it.
- Black or endless loading screen — restart the game, update demo and driver, turn off the upscaler/Frame Generation combo that preceded the lock, and retry with TSR.
Also worth noting: restart after changing Frame Generation (an Unreal Engine limitation per version 1.02), and change one setting at a time so you can track what triggered a problem. The DLSS situation is genuinely murky — the developer’s pinned list still warns about loading freezes while the 1.02 post says “DLSS is Back” — so this guide does not label the freeze universally fixed.
Quick Walkthrough Recap
If you want the short version of this Valor Mortis demo walkthrough: enable Target Lock, Combat Assist, Instant Restart and Quick Cast; clear Chapter I as a parry-and-Nephtoglobin tutorial; manage Lothaire’s adds with Stasis; treat Aurelius as a pure parry exam; and use the rapier, musket and traversal kit to survive the Lighthouse. Parry to break Posture, spend your Transmutations at the right moment, and bank Catalyst before every risky path.