Note on sources: Everything below is built from community-reported and official developer material. Exact stamina, cooldown, damage, and upgrade values are not officially confirmed, so treat all numbers as unverified and test them in your own build.
How to Build William’s Combat Loop in Valor Mortis
William’s kit in Valor Mortis is deliberately split in two: he is a soldier pulled back from death, yet the game expects him to move aggressively through first-person soulslike fights. The trick to making the character feel consistent instead of contradictory is to stop treating resurrection and mobility as separate systems. You build one loop, and the loop is what carries you through an encounter.
Community-reported and official developer material ties William’s return and his supernatural abilities to nephtoglobin, and names a fixed set of verbs across the store page and updates: grapple, wall run, swing, dash, block, parry, and finishers. This guide turns those verbs into one preparation loop you can actually rehearse.
The Official Movement-Combat Relationship
One More Level describes William’s nephtoglobin connection as enabling him to grapple through the air, wall run across cliffs, swing across wide expanses, and manipulate terrain to reach combat vantage points. The Steam page separately lists parry, block, dash, and finishers among the game’s combat actions.
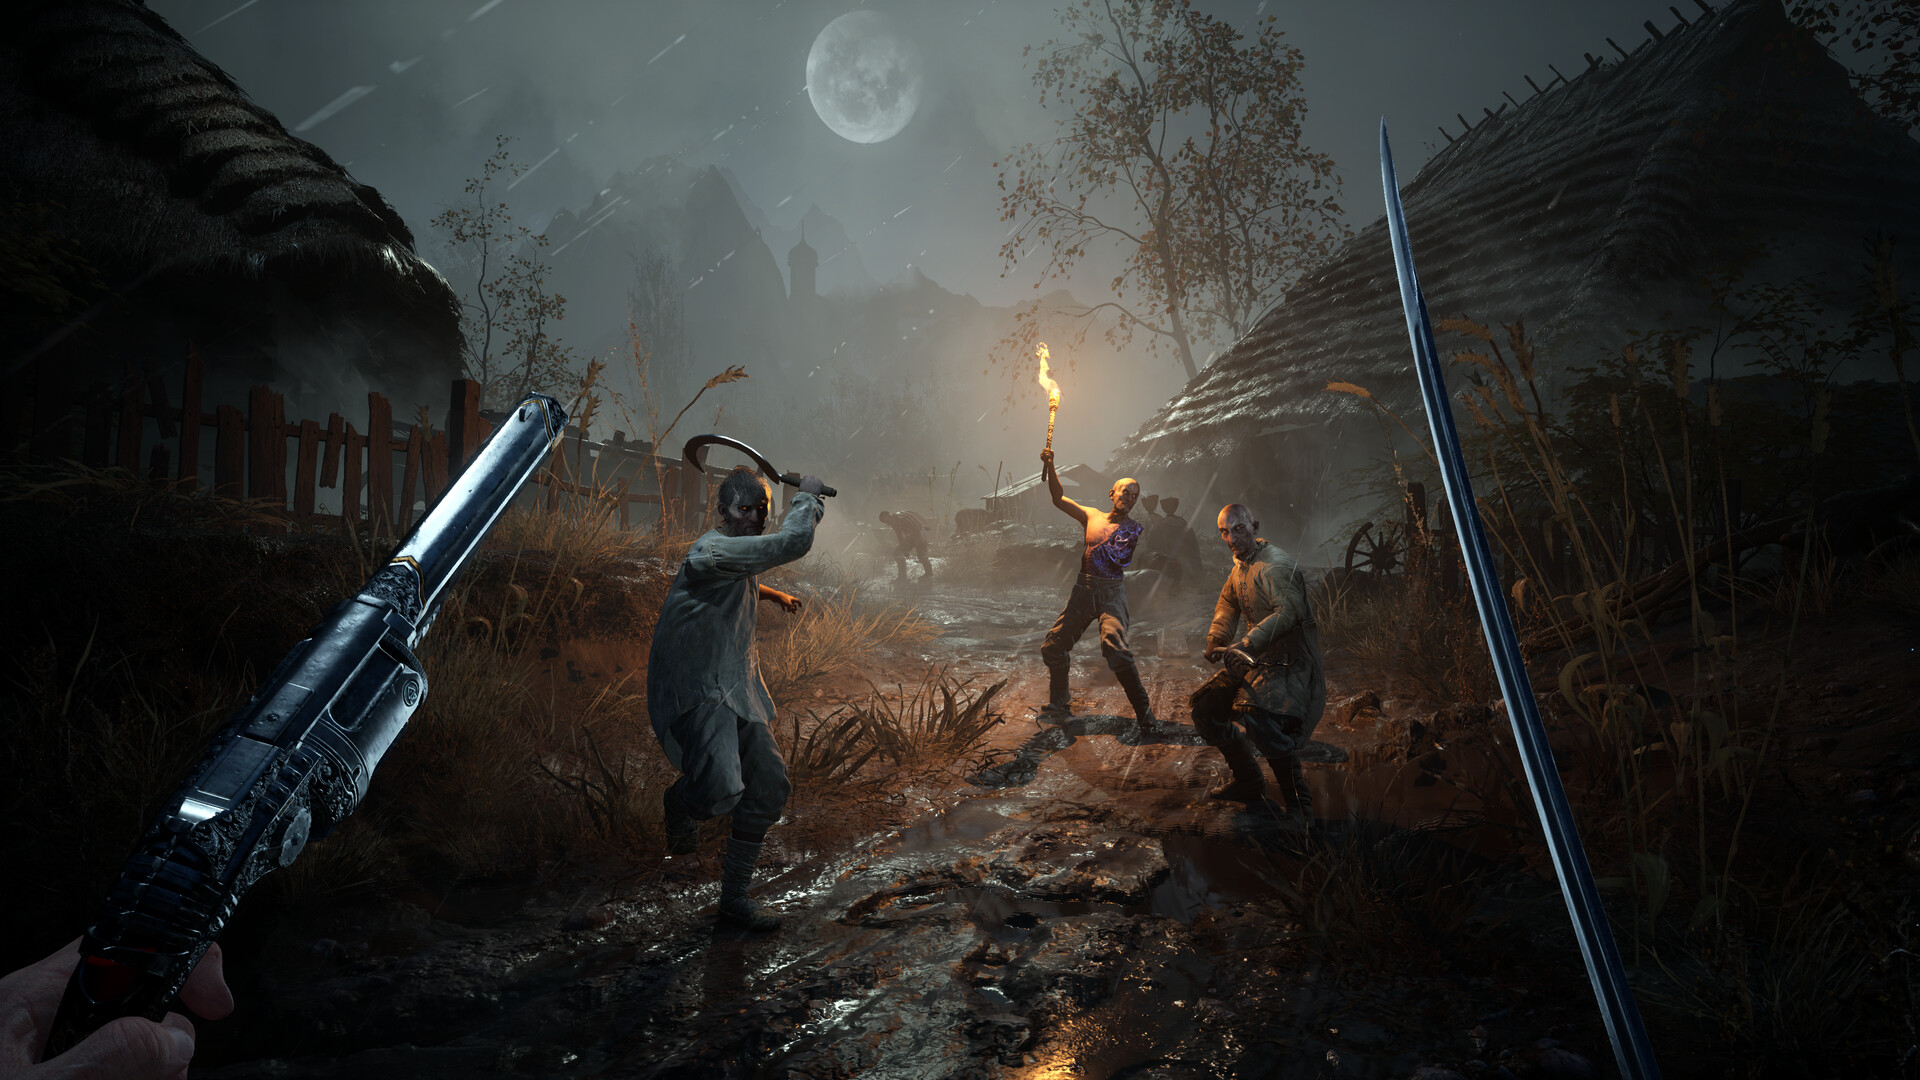
The useful takeaway here is not “always stay in the air.” It is that movement is meant to change the angle of an encounter. A route you thought was only a safe way across a gap can become an attack route from above, and a broken bridge can be a combat problem as much as a traversal problem. When you plan a fight, plan the geometry at the same time.
Use a Three-Phase Encounter Loop
Rather than memorizing combos, run the same three-phase loop every time a fight starts. It scales from a single enemy to a boss because it is about reading the space and choosing the right verb.
Step 1 — Read the arena before you commit
Before your first attack, scan the room and identify four things:
- An anchor you can grapple to (a ledge, rafter, or raised platform).
- A wall-run surface you can use to relocate or drop on an enemy.
- A retreat line you can dash back along if the exchange turns bad.
- The enemy that can punish a long animation — the one you should never execute in front of.
This is not theoretical. In the demo’s Lighthouse material, a destroyed bridge and transmutation powers are explicitly used to cross broken terrain, so the arena geometry is part of the kit. Learn the room the same way you learn the moveset.
Step 2 — Break the enemy’s rhythm
When an attack is readable, answer with a parry or block. When an attack is not readable — or comes from an angle you cannot reliably time — answer with a dash or a grapple instead of trying to tank it.
Because the developer improved target-lock and camera behaviors specifically for multi-enemy and boss situations, re-test your camera discipline whenever more than one enemy enters the fight. A defensive exchange you can land against one enemy may drift out of frame against three.
Step 3 — Convert the opening
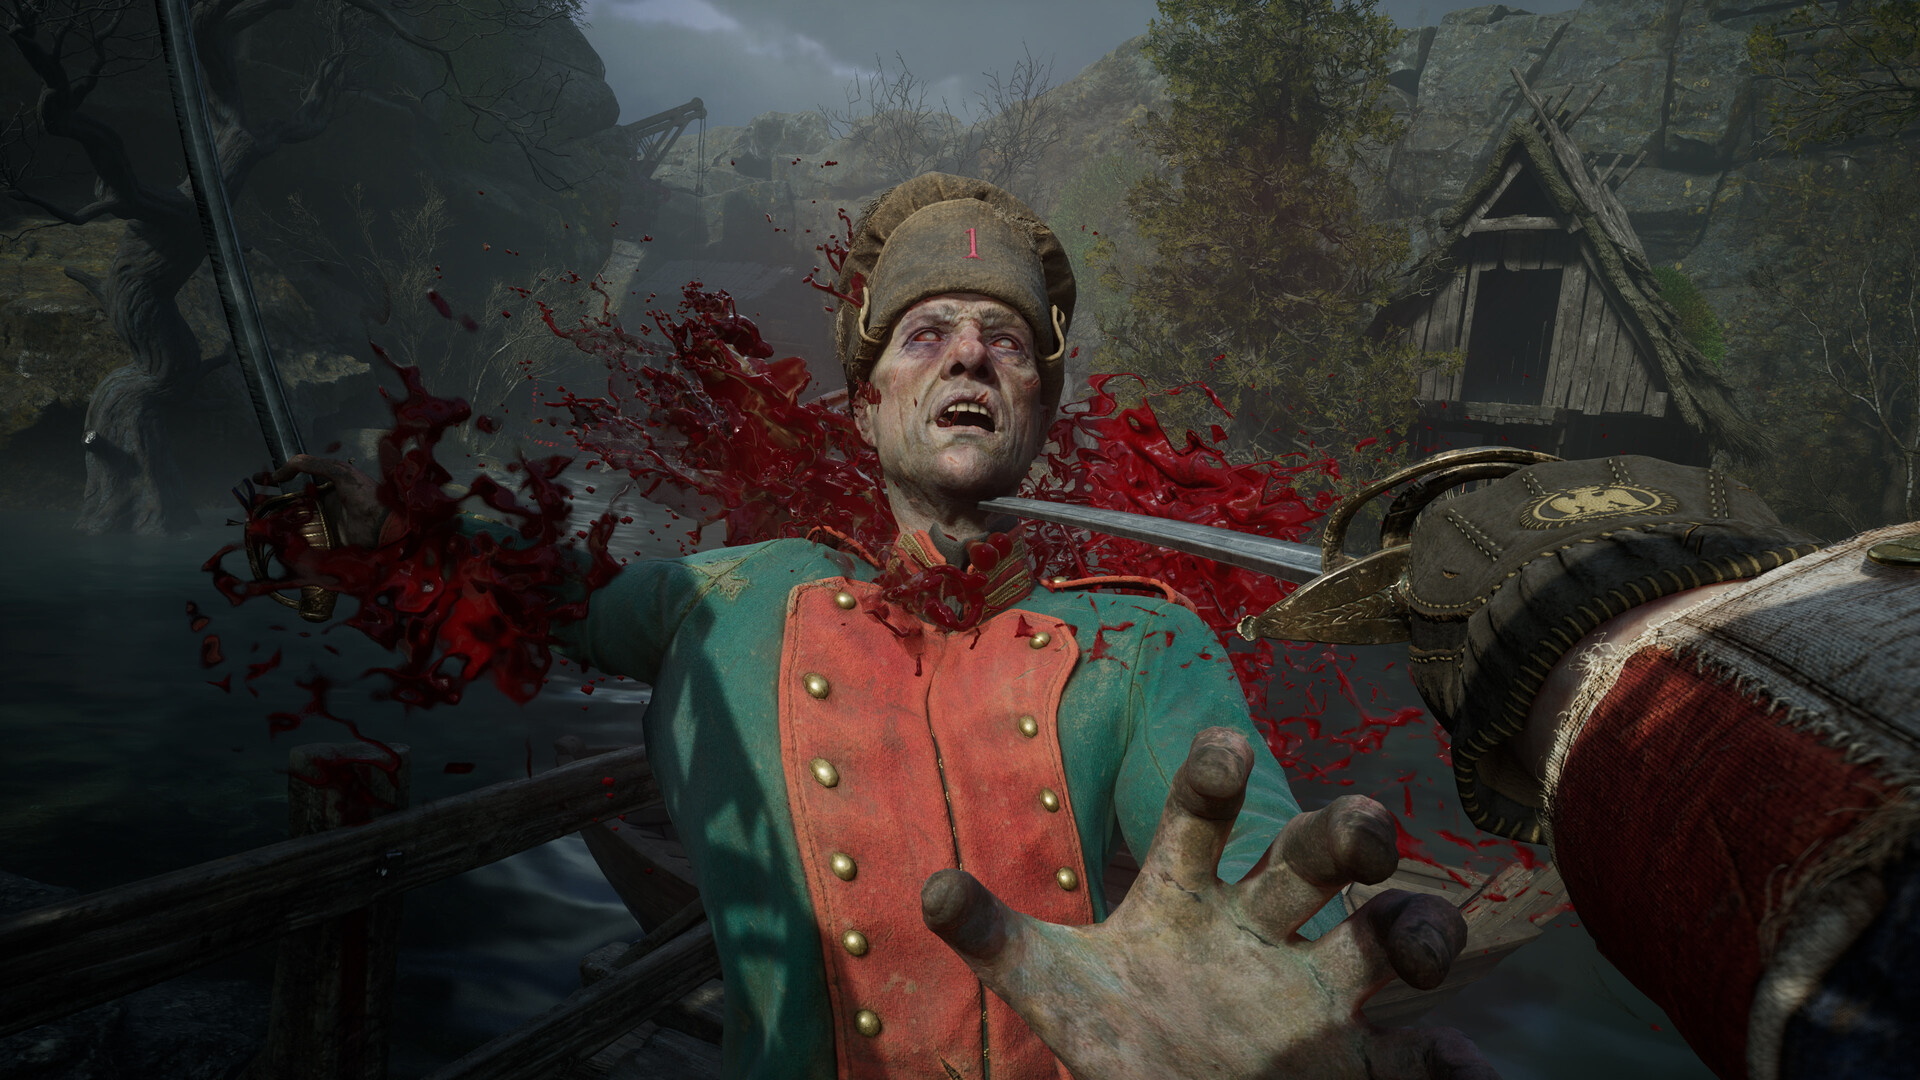
After a successful defensive exchange or a movement reposition, look for the punish. Use a finisher only when its prompt and the target’s state are confirmed — do not assume every stagger is an execution window. This is the most common place community players waste an opening: they react to “enemy looks stunned” instead of to the game’s actual signal. Record which prompts and enemy states genuinely trigger finishers in the release build, and build your follow-ups around those confirmed windows.
Resurrection Is Not Permission to Trade Hits
The resurrection premise can create the expectation of unlimited retries or an automatic safety net. The official sources do not publish how resurrection affects health, checkpoints, resources, or enemy state. Until the system is tested in your build, treat resurrection as story and ability context, not a mechanical crutch.
That means the safest habit stays the same regardless of the lore:
- Avoid damage in the first place instead of planning to absorb it.
- Create distance with dash, grapple, wall run, or swing when an exchange is going badly.
- Use movement to choose the next exchange rather than being pulled into one.
If you are treating resurrection as “free trades,” you are building your loop around an assumption the sources never confirm.
Demo-Tested Context (Clearly Labelled)
The free demo is a good place to rehearse this loop, but keep its scope in mind. The demo contains a modified early section and a second Lighthouse level. Its official page and developer update name a rapier, a musket, and a new Shield Transmutation in that expanded level.
These are useful demonstrations of the design direction — they show how movement, defensive tools, and ranged options are meant to interlock — but demo availability does not prove that handling, stats, or unlock timing will be identical in the full retail build. Re-verify every timing and prompt when the finished game is in front of you.
Practical Tips for the Loop
- Pair one defensive verb with one mobility verb per encounter type so your muscle memory stays clean — for example, parry plus grapple for open arenas, block plus dash for tight corridors.
- Rehearse camera movement, not just button timing. The improved lock-on and camera are the reason this loop works in multi-target fights.
- Note the trigger, not the vibe. Write down or remember which stagger states actually accept a finisher.
- Re-scan the room after the first kill. A vantage point you ignored at the start often becomes the best punish route once the group thins out.