Combat & Gameplay Guide
Valor Mortis is a first-person soulslike, so its combat lives and dies on timing, positioning and resource management rather than raw damage. This guide walks through the core systems — parries, Posture, Nephtoglobin and Transmutations — then breaks down the demo’s two bosses, its field threats, and the settings and progression tools that make hard fights survivable. Most of the specifics below come from community-reported demo data and in-game journal entries rather than official documentation, so treat exact numbers as unconfirmed.
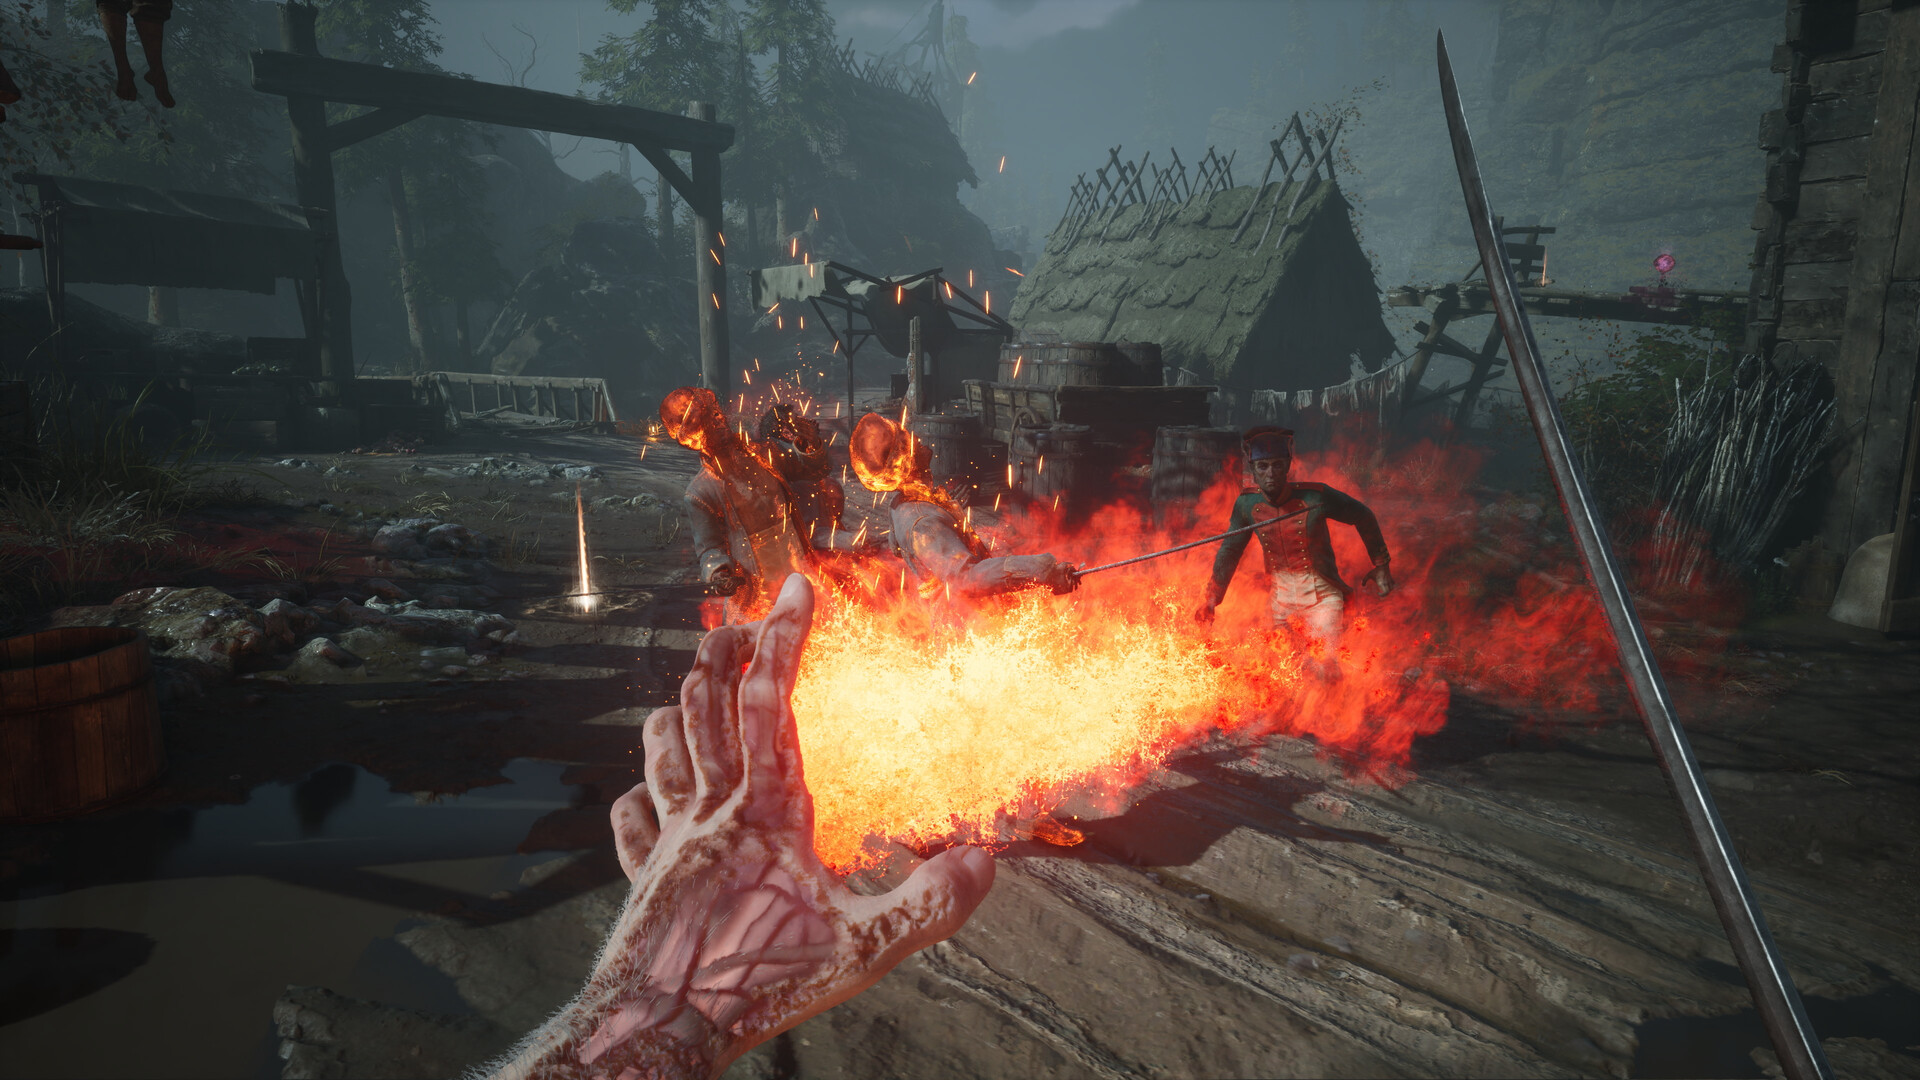
The Core Loop: Parry, Posture and Finishers
The developer describes the combat as stamina- and skill-based, designed to feel threatening and immersive, where “every death is a stepping stone to mastery.” In practice the loop revolves around four pillars that community reporting consistently highlights:
- Parries — the primary way to break an enemy’s Posture.
- Blocks — a safer but less rewarding option that does not fill the Posture meter as fast.
- Dodge / Dash — a stamina-gated escape tool for repositioning and avoiding unblockable attacks.
- Weak-point pressure and finishers — shattering weak points feeds your blood-magic, and breaking Posture opens the door to a Critical Attack for huge damage.
The golden rule repeated across community guides is simple: trading hits loses. Almost every “unfair” death traces back to mashing attacks instead of parrying and managing Posture. Read the enemy’s wind-up, parry its string, then punish.
Nephtoglobin and Blood-Magic Transmutations
Nephtoglobin is the plague substance tied to William’s resurrection. It fuels both his traversal abilities and his blood-magic Transmutations. Melee hits and shattered Weak Points feed this resource, and you cash it in at the right moment for one of three named Transmutations:
- Fire Transmutation — removes organic barriers and burns enemies such as Carrion.
- Stasis Transmutation — buys space and thins out enemy packs.
- Shield Transmutation — a defensive Transmutation named for the demo’s Lighthouse level, with no further detail published.
Channeling the power correctly is said to strengthen attacks and unlock new supernatural skills to use against enemies.
Weapons and Dual-Wielding
Valor Mortis weaves Napoleonic-era weaponry into a first-person flow, letting you dual-wield melee and firearms while layering in supernatural powers. The demo and announced arsenal include:
- Rapier — a primary thrusting blade added to the demo’s Lighthouse level, built for speed and precision.
- Pistol — a single-shot firearm fused into the melee flow, usable both in combat and to trigger environmental weak points.
- Musket — a firearm debuting in the demo’s Lighthouse level, named officially but without published stats.
- Sabre — a blade secured at the start of Chapter I: Revival.
- Greatsword — a heavy weapon wielded by the Volunteer Brute and the Eternal Guard.
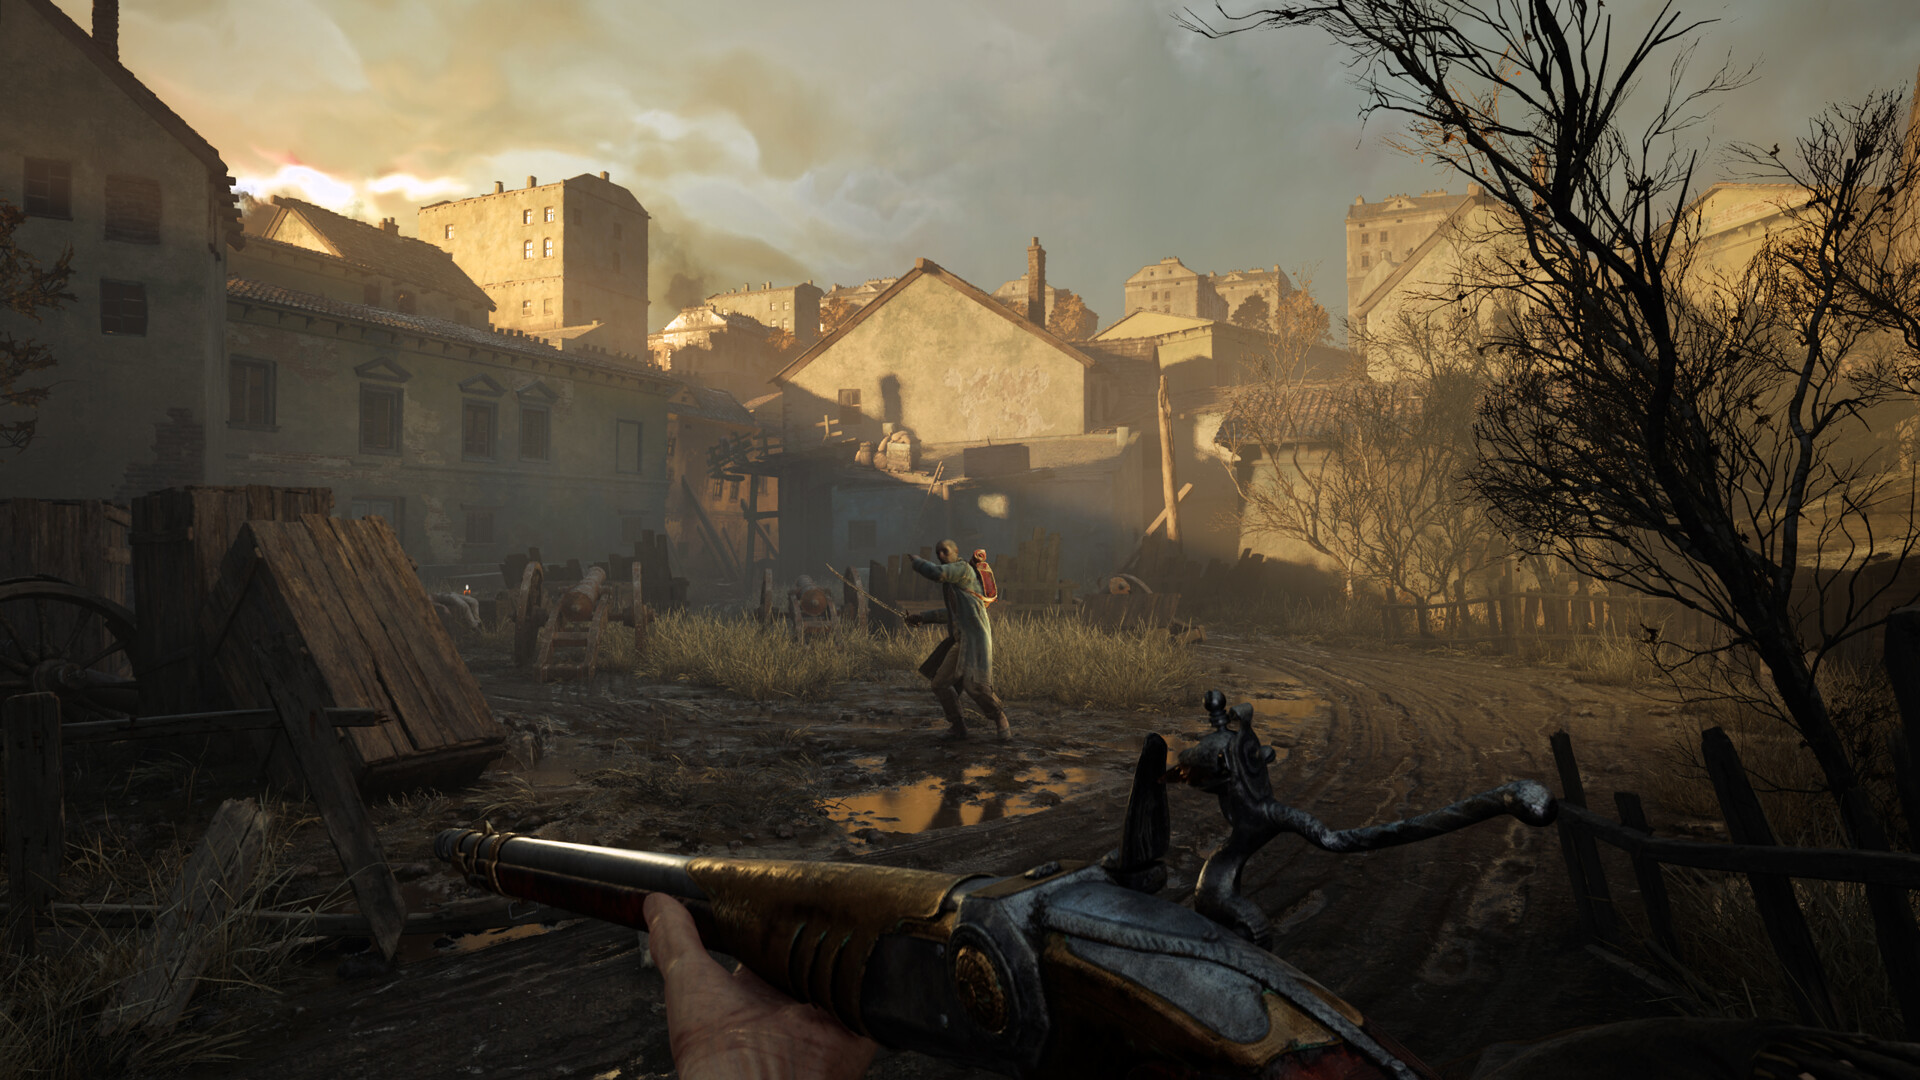
Traversal: Grapple Hook and Wall-Running
Exploration is Metroidvania-style and directly feeds combat. Wall-running and a grapple hook (a nod to the developer’s Ghostrunner roots) let William flank enemies from above and navigate treacherous terrain. The Eternal Guard in particular is read by community guides as “a mobility problem” whose intended counter is movement and improved targeting — not standing your ground.
Progression: Lanterns, Catalysts, Ambers and Stats
- Lanterns are the checkpoints. Lighting one makes it a restart point and lets you spend Catalyst. Note that resting or dying resets regular enemies.
- Catalyst is the upgrade currency spent at Lanterns. Community advice is to bank it before heading down dangerous paths.
- Ambers are socketable survival modifiers. Life-steal and regeneration variants are repeatedly recommended to turn brutal fights into survivable ones.
- Stat tree — the community-recommended priority is Maximum Health and Melee Damage first, before branching into more specialized nodes.
Builds broadly span Sabre, Claymore, Musket and Fire/Stasis Transmutation setups, though as a pre-release title these are community-theorycrafted rather than confirmed.
The Two Demo Bosses
The demo contains two named bosses, and the strategy notes below are drawn from the in-game journal and the demo’s combat systems.
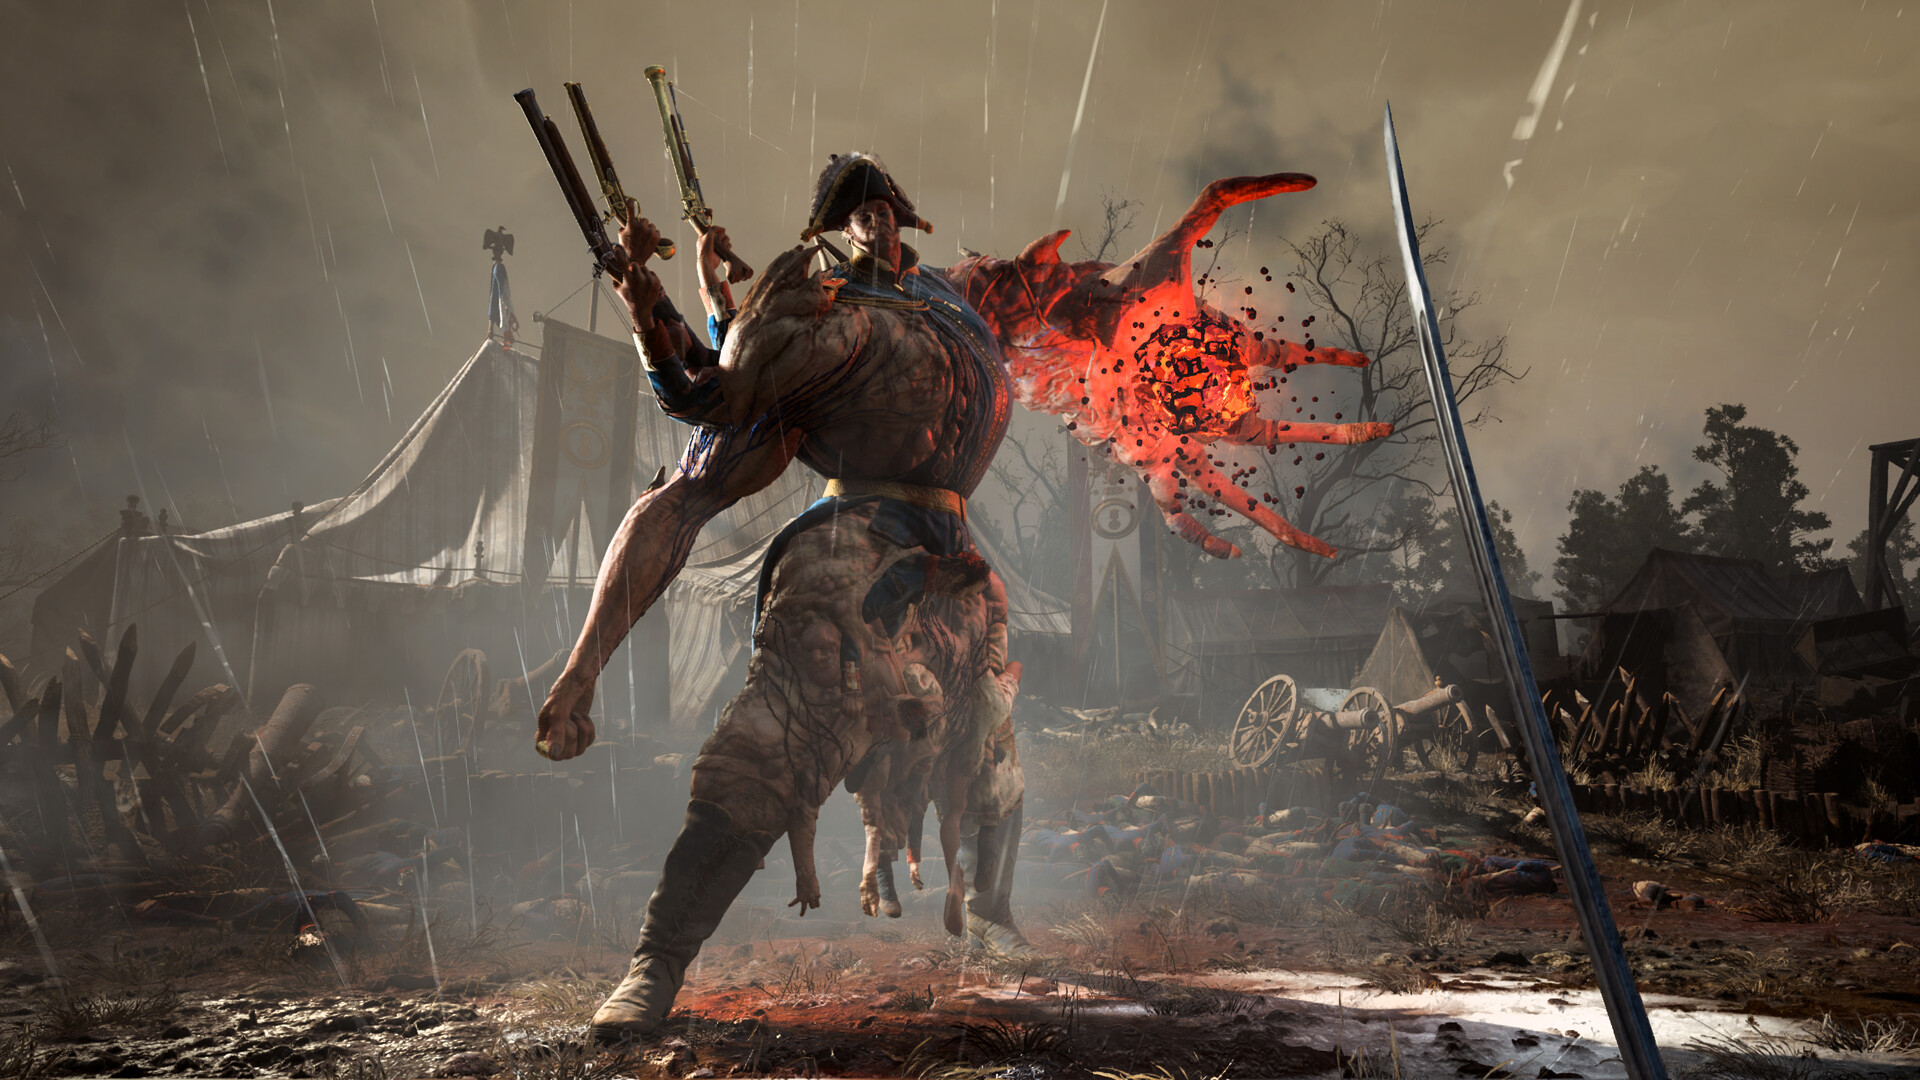
General Lothaire, the Eagle-Bearer — a two-phase boss at the end of Chapter I: Revival. A relentless commander who fights alongside the spawn of his rage. Manage the adds, keep Target Lock on the General, and use Stasis to buy space when you’re swarmed.
High Justicar Aurelius, Last of the Faithful — a master fencer who serves as the parry check of the demo. Bait his strings, parry to break Posture, and punish with Criticals. Patience beats aggression here.

Field Threats and How to Counter Them
Each enemy between you and the bosses has a tell. These counters come straight from William’s journal — fight them the way the game tells you to, not by trading blows.
- Carrion — immune to blades. Burn it with the Fire Transmutation or any ignite to destroy the mass holding it together.
- Eternal Guardsman — an elite fencer. Parry its strikes, break its Posture, then punish.
- Howler — hunts in packs, so don’t get surrounded. Drop them through openings or use Stasis to thin the group.
- Lancer — a field threat listed among the demo’s enemies between you and the bosses.
- Risen Grenadier — lobs grenades from range and hits hard up close. Close the gap while dodging the throw.
- Risen Musketeer — its slow reload is your window. Close the distance the instant it fires.
- Risen Sapeur — heavy, barricade-breaking blows that beat your guard. Dodge rather than block.
- Risen Soldier — a standard sabre fighter. Parry the basics and counter.
- Shambling Villager — weak plague-ridden civilians that pose little threat alone but can pile on.
- Smallsword — another field threat listed among the demo’s enemies.
- Volunteer Brute — a towering greatsword-wielder. Duck its wide swings and strike in the gaps.
You’ll also encounter The Relentless (elite loyalists identified by greatswords and concealed faces) and the Orphan, a Neftoglobin abomination lurking in the city sewers whose gaping chest cavity belches acid that strips flesh from bone.
Controls and Settings That Win Fights
The demo offers surprisingly deep accessibility and feel options, and four of them flatten the difficulty curve without an easy mode. Turn them on before a boss:
- Target Lock — keeps the camera on the boss, with a Switch Target control to cycle between enemies.
- Combat Assist — snaps your swings toward the enemy you’re attacking. Turn it up if your hits whiff, down if it fights your aim.
- Instant Restart — restarts from the last checkpoint without sitting through the death screen; a big one for boss runbacks.
- Quick Cast — fires Transmutations the moment you select them, skipping the confirm step.
Everything is fully rebindable, with a primary and secondary key per action and a Reset to Defaults option. There are also five controller presets (Default, Classic, Dodge/Block Swap, Bumper Jumper and Bumper Jumper 2), and controller icons can be themed for Xbox Series, PlayStation 5 or Nintendo. For the firearm and Transmutation play, set your aiming sensitivity lower than your hipfire sensitivity for steadier shots and Stasis throws.
On the difficulty question: the demo has no difficulty slider, and it throws its hardest content at you. But it’s very learnable — the systems, not a menu toggle, are how you bring the challenge down.
A Note on the Trophy and Achievement List
As of the community-reported demo period, no official Valor Mortis trophy or achievement list has been published. Because the game is pre-release, any full trophy guide you see circulating is speculative and unconfirmed. Expect the real list to land closer to the October 13, 2026 launch — and expect at least one entry tied to defeating bosses like General Lothaire and High Justicar Aurelius without taking damage, the kind of challenge the demo’s parry-and-Posture design is clearly built around.
Quick Takeaways
- Parry to break Posture, then land a Critical Attack. Trading hits is the fastest way to die.
- Extract Nephtoglobin, then spend it on Fire, Stasis or Shield at the right moment.
- Level Maximum Health and Melee Damage first.
- Pick a survival Amber — life-steal or regeneration makes hard fights survivable.
- Use the four comfort settings (Target Lock, Combat Assist, Instant Restart, Quick Cast) before every boss.
All combat specifics above reflect community-reported and in-game journal information from the pre-release demo and are not officially confirmed by the developer.